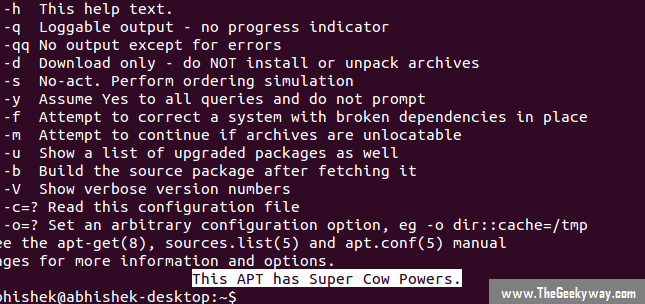
APT abbreviated as Advanced Packaging Tool, is the package management tool used in Debian based distributions to install new applications from repository, removing installed applications, upgrading the system, updating the repository and bunch full of other useful tasks, all that from terminal itself.
1) Installing Application In Ubuntu/Debian Using APT-GET
Command Syntax :
sudo apt-get install <package_name>
Example :
sudo apt-get install gimp
Where gimp is the package name which is to be installed.
2) Updating The System Repository Using APT-GET
This command will update the Debian/Ubuntu repository with the newer latest version that's available.
Command :
sudo apt-get update
3) Upgrading The Software Packages Using APT-GET
It is usually used to upgrade the installed packages in the system. For example, if new updated package are available in the repository, then this command will upgrade the installed package with the latest one that is available in repository.
Command :
sudo apt-get upgrade
4) Upgrading Specific Desired Packages Using APT-GET
Using this command you can upgrade stacks of desired packages you want. The command is very much similar to that of installing packages.
Command Syntax :
sudo apt-get install <package_name> --only-upgrade
Example :
sudo apt-get install gimp --only-upgrade
5) Installing Packages Without Upgrading Using APT-GET
The following command will install the desired package, but won't upgrade even if the upgrade is available.
Command Syntax :
sudo apt-get install <package_name> --no-upgrade
Example :
sudo apt-get install wine --no-upgrade
6) Installing Multiple Packages All At Once In One Command Using APT-GET
This command is used to install as many packages/application you want using one single command. Quite a productive command it is!
Command Syntax :
sudo apt-get install <package_1> <package_2> <package_3>
Example :
sudo apt-get install gimp wine vlc
7) Install Only Desired Version Package Using APT-GET
Inserting '=' after the package name and appending desired version, you can install specific version of the package
Command Syntax :
sudo apt-get install <package_name>=<version_number>
Example :
sudo apt-get install wine=1.7
8) Download Only Source Code Of The Desired Package Using APT-GET
You can download source code of the desired package from the repository using following syntax.
Command Syntax :
sudo apt-get --download-only source <package_name>
Example :
sudo apt-get --download-only source synapse
9) Downloading The .deb Package Without Installing It Using APT-GET
You can download the .deb package of the desired application using following command. The downloaded .deb package is usually stored in /var/cache/apt/archive directory.
Command Syntax :
sudo apt-get download <package_name>
Example :
sudo apt-get download synaptic
10) Download The Source Code, Decompress It & Then Compile It Using APT-GET
You can download source code of the application you want to use, then decompress it & compile it using one single command.
Command Syntax :
sudo apt-get --compile source <package_name>
Example :
sudo apt-get --compile source gimp
Dozens of other commands will be covered in next part of the tutorial. Stay tuned.
Edit : You can read Part-2 Of The Tutorial From HERE
Posted By: Sanyam Khurana

The Geeky Way is founded by Sanyam Khurana. He graduated from Georgia Tech, Atlanta, US with a Master's degree in Computer Science. He goes by 'CuriousLearner' all over the web & has spoken at many international conferences. He likes to contribute to FOSS. He is listed as an individual contributor of the Django project, bug-triager for CPython & has his name listed in the credits section of every browser ever released by Mozilla. In his free time, he likes to improve his guitar skills or binge-watch series.. You can find him on Twitter